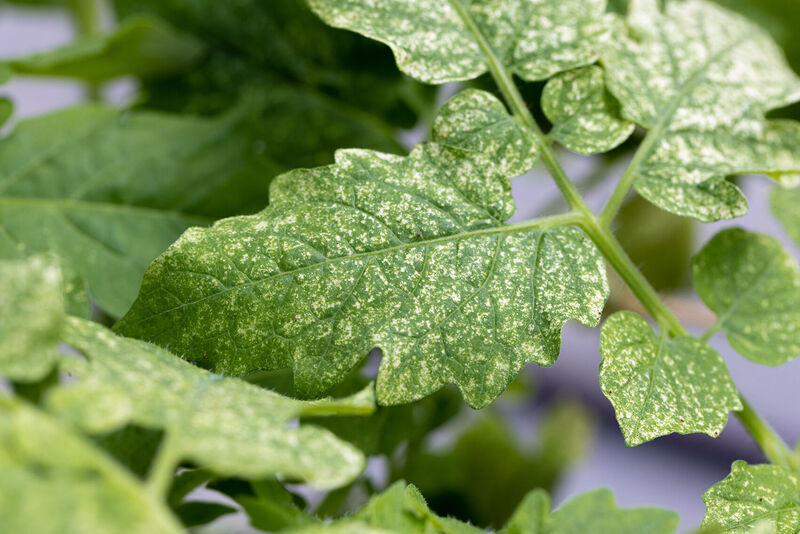
A spider mite outbreak requires rapid action, and the earlier you deal with it, the better. This requires you to be constantly alert, and proper scouting is crucial.
Using sticky traps for spider mite is of little use, as the mites are not attracted to them. Even if there’s a contamination hotspot in the crop, you’re unlikely to find anything on the sticky traps. It’s logical really – the mites don’t fly.
To uncover this pest, it’s important to make regular checks of your crop. A good guideline is a weekly check of the entire crop, with particular attention paid to areas where there were problems last season. Those are the areas where the conditions are ideal for spider mite, often drier and warmer spots.
Spotting a spider mite attack is not complicated. The webs are particularly obvious, and when you spot those, the level of infestation is already high. But even before it develops that far, parts of the crop will look slightly sad, followed by yellowing of the leaves. If you then start to see little dots crawling around, you’ve seen enough and there’s no doubt that you have spider mite.

Dormant period
Please note that when the days start to shorten, you will notice the spider mites turn from light brown or yellow to red/brown. This means that they are heading towards their winter stage. They will crawl off to untraceable spots, such as the frame of the greenhouse, and will seem to have disappeared.
At this point, it’s essential that the spider mite is under control. Additional natural enemies will no longer be of any use. Often, it’s better to control the spider mite with a corrective product that fits with IPM.
During the dormant period, it may seem that a problem area in the crop has been fixed. But nothing could be farther from the truth! If the conditions improve, i.e. longer days, rising temperature, growing crop, the mites will reappear in exactly the same places. Always pay close attention to previous problem areas when scouting!